
I’ve had some trouble with bed adhesion on my FDM printer over the past few months. I admit, I’m a relative newbie to the 3D printing scene. I have my printer mostly dialed in, but on occasion some issues still creep in. I’ve played with settings (printing with a brim seems to help quite a bit), but I tend to watch the first layer or so of any large print to ensure things go off without a hitch.
Well, one of those things happened yesterday. I was printing Lucky 13 by soozafone, which is a great print. I’d already completed the original print and had upped the size to 250% as I wanted an even bigger version. The smaller version came out great, but the larger one I printed with a brim as it was going to take 16+ hours and felt it was warranted.
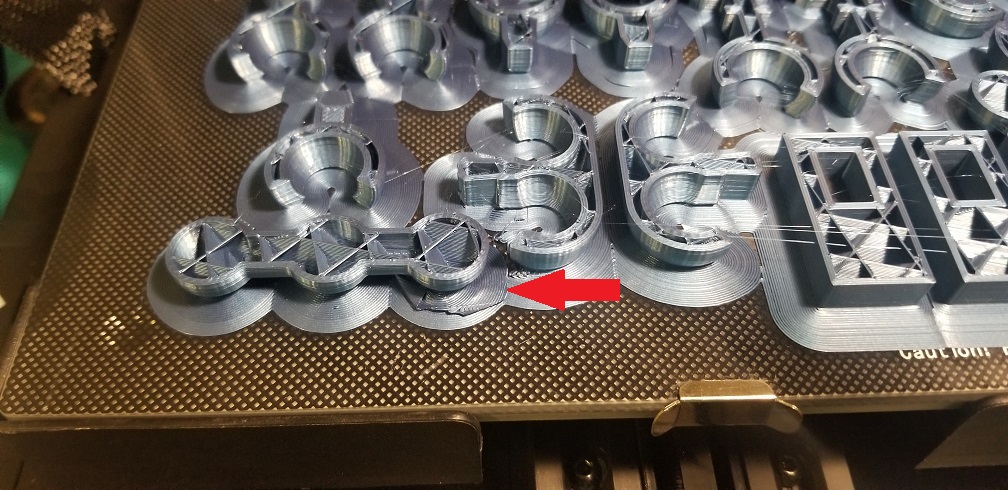
The first print actually failed due to non-adhesion of one corner of the brim, right where it made a sharp point with the next part. Because the print was large, the print head laid this section of PLA down quickly and then pretty much traversed the entire perimeter of the print bed before attempting to put down the adjacent layer. What was happening is that by the time it got back, this point cooled and warped off the bed. The nozzle would tear that chunk of PLA off and send it into the next part. So not only do I have a big ball of spaghetti forming, but there’s now no chance that anything will adhere to the bed around this section because it’s already one layer higher. Not ideal, so I scrapped it and started over.
The second print began to fail in an identical manner, so I had to fix it. Because it wasn’t my design, I wasn’t keen on a lot of extra effort, so I decided I’d just try to patch the affected part (it was limited to one section). If the patch worked, great! I can just re-print the affected part and salvage a couple layers of the rest of the parts.
The procedure was as follows:
- Tear off a section of the brim from Print #1 to roughly match the bare print bed under the affected part.
- Apply glue stick to the affected area.
- Pre-heat my metal spatula with the lighter (5 to 7 seconds of direct heat).
- Apply the patch to the top of the hot glue, then quickly melt the patch with the lighter.
- This caused some warping of the patch, but I didn’t care since all I was shooting for was to get the next layer to adhere.
- Press down with the pre-heated spatula to flatten the patch.
It wasn’t pretty, but it worked! The next layer adhered fairly well, although I’m sure there will be some artifacts from this process. However, from what I can see of the part, it’s still functionally usable so there’s actually a good chance that I won’t have to re-print it at all! That’s way better than I was expecting!
That’s all for now. Thanks for reading!