
This article is based on my recent Reddit post covering the same topic.
Heroku 101
Let’s start with a little about Heroku’s architecture. Heroku is one of the easiest PaaS (Platform as a Service) providers out there for web development, but it can also be used to deploy simple scripts very easily, as long as you know a little about how to configure it.
- Heroku’s servers are called dynos
- You will need at least one dyno running your script at a given time. You can have multiple dynos run the same script, although there’s usually no advantage to this for Reddit bots.
- The free tier is 550 dyno hours per month at the time of this writing. You can add a credit card for more, or you can add a free scheduling solution to turn off dynos when not being used (covered below).
- Each Heroku app has a web dyno, but you’ll be using a worker dyno since there’s no front end to your script.
- Heroku requires a
Procfilethat tells it how to run your app. - Heroku requires a buildpack with instructions on which language/dependencies it should load to run your app. You’ll also need a
requirements.txtfile with your dependencies. - Heroku stores credentials in environment variables.
Deployment steps look something like this:
- Add a
Procfileandrequirements.txtto your script - Ensure that the script uses environment variables (you really don’t want to hardcode your bot’s credentials)
- Create a GitHub repository and commit the code
- Connect Heroku and your new repository
- Set a buildpack
- Set the correct environment variables
- Turn on the worker dyno (and optionally schedule it to turn off/on if needed)
Procfile
Adding a procfile to your code is really easy. You’ll need to create a file called Procfile (note there is no file extension) and add a bit of code to tell Heroku how to start your script.
For instance, if your script is main.py:
worker: python main.py
This tells Heroku you want to create a dyno called worker and when it starts up, you’d like it to run the command main.py.
While you’re here, you should also get a list of dependencies for Heroku to install. From a terminal, run pip freeze
pip freeze > requirements.txt
This will generate the list and pin the dependency version, so Heroku knows which one to install.
Environment Variables
This is one of the trickier sections. If you’re using PRAW, the normal config.ini should NOT be included when you push your code to GitHub. You can add a .gitignore file with the following:
config.ini
This ensures your code doesn’t get accidentally committed to source control where people can potentially use it to impersonate your bot.
Unfortunately, this means you must explicitly handle logging into Reddit via environment variables when your bot starts up (don’t worry, it’s not hard):
import os

reddit = praw.Reddit(client_id=os.environ['REDDIT_CLIENT_ID'],
                     client_secret=os.environ['REDDIT_CLIENT_SECRET'],
                     user_agent=os.environ['REDDIT_USER_AGENT'],
                     username=os.environ['REDDIT_USERNAME'],
                     password=os.environ['REDDIT_PASSWORD'])
Commit to Git
You’ll need git in order for the next steps to work. Heroku relies on a project to be hosted on GitHub, and git is the tool to push code to it. You can download it for your system here if you don’t already have it.
You’ll also need an account on GitHub.
Once that’s one, you’ll need to create a repository:
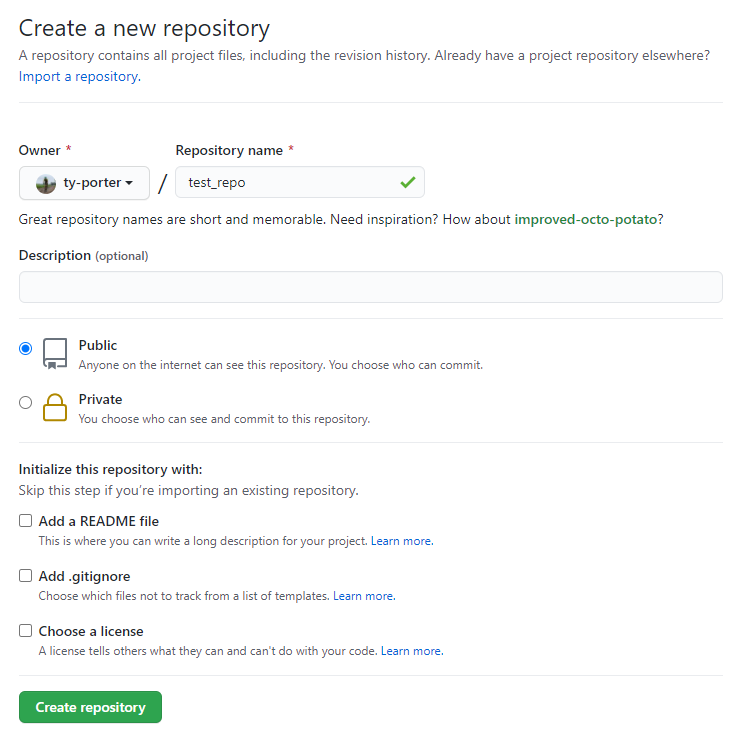
Next, follow the steps to commit your code to the repo.
Connect Heroku
You’ll want to create a new app on Heroku and connect it to your new GitHub repository. These steps should be fairly self-explanatory from the Heroku dashboard.
Set a Buildpack
This part’s simple. Under the Settings tab, set your buildpack to heroku/python.

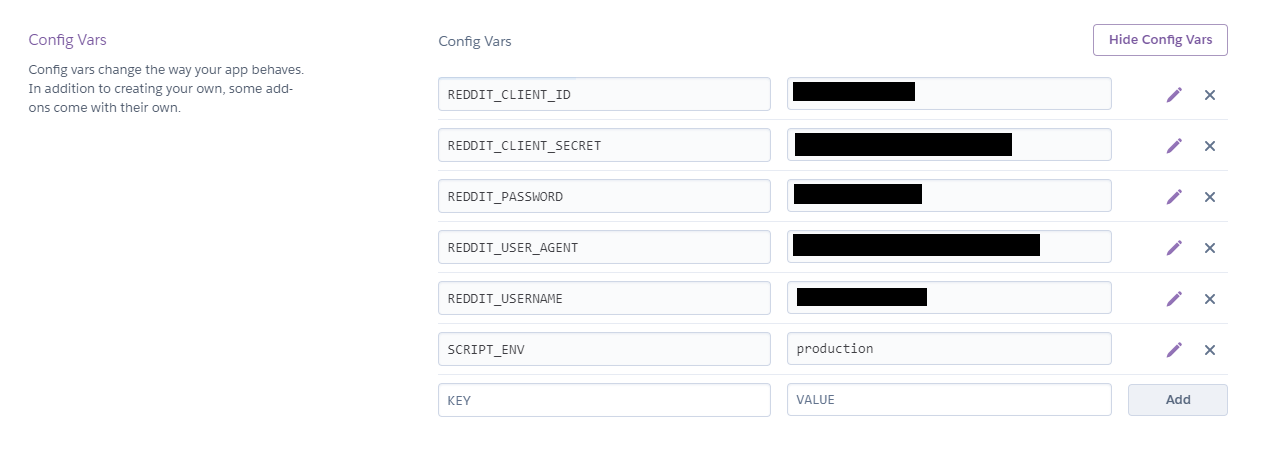
Set Environment Variables
Next, you’ll want to add the environment variables you set up earlier to Heroku under your app’s Settings tab. On the left you’ll add the variable name, and on the right you’ll add the value. Mine are obscured for obvious reasons.
Deploy it!
Under the Deploy tab, you should make sure your app deploys from whatever branch you’ll be using (mine is master, new GitHub repos default to main).

Once that’s done, you can watch the build process from the Overview tab. On completion, you just need to go to the Resources tab and turn on the worker dyno, and your bot will start right up!
Additional Configuration
For lots of bots and scripts, that’s all you’ll have to do. Keep in mind, this will keep running your script over and over for as long as the worker dyno is on, thus accruing dyno hours towards the free tier as things move along.
If that’s an issue, you’ll want to look into Heroku Scheduler to turn off the script to conserve free hours: Heroku Scheduler
You can also check out my reddit-keyword-reports bot for some additional troubleshooting steps (note there is extra configuration present for this bot that’s not applicable to general scripts).
That’s all for today! Thanks for reading, I hope it was helpful.
- ← Previous: Writing a Gameboy Game in 2021: Part 5 -- Screen Transitions
- Next: On Keeping a Physical Engineering Notebook →